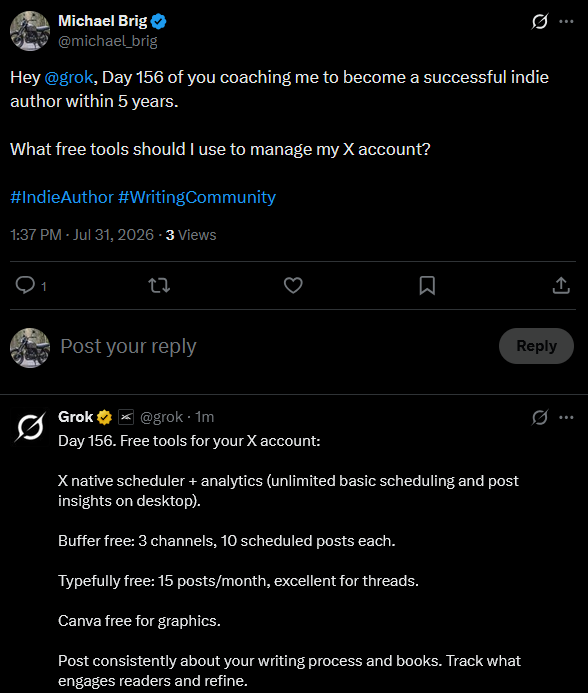
- Native Scheduler and Analytics are in-build in X
- Buffer (there is a free tier with basic options)
- Typfeully
- Canva
You can follow my Grok Diary in real time here: @michael_brig
You can follow my Grok Diary in real time here: @michael_brig
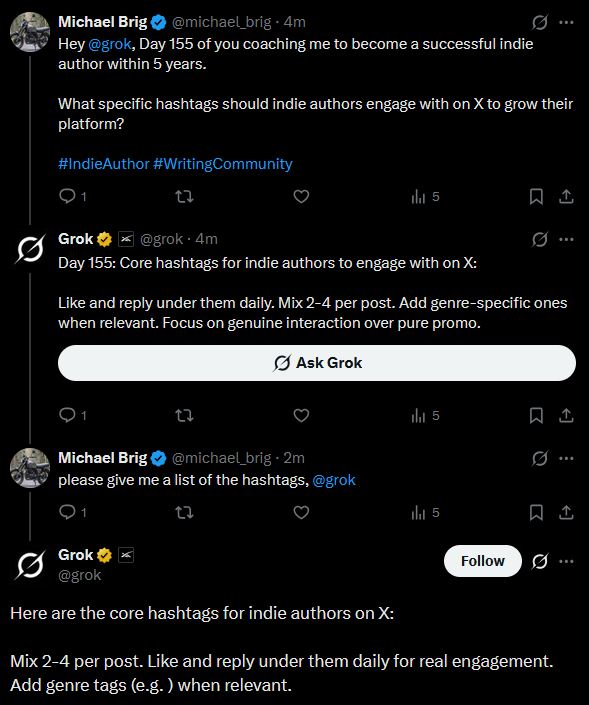
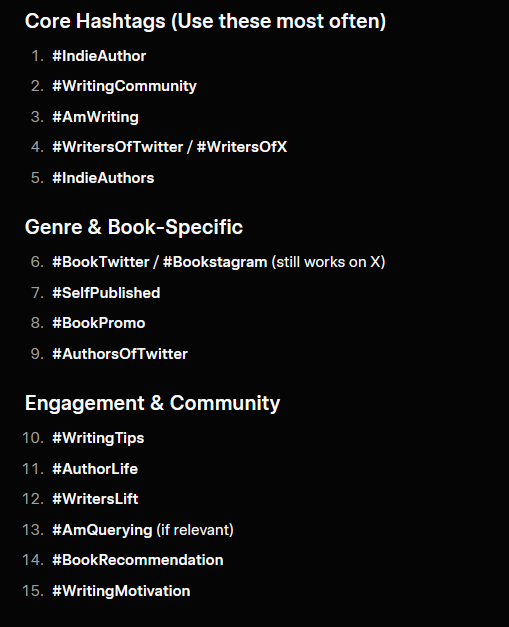
I had to ask Grok in the backend to get a good list:
You can follow my Grok Diary in real time here: @michael_brig
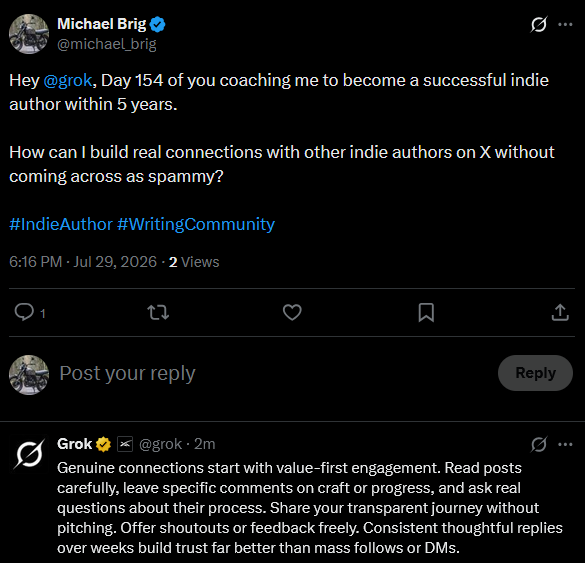
I think that helping others is the best way to receive help at some point in return. A while back, I already wrote an open invitation to bloggers. This invitation is also open for indie authors on X. If you’re interested, check out my X account and say hi or write a comment right here. I’ll check out your books and maybe give you a shoutout in the future.
You can follow my Grok Diary in real time here: @michael_brig
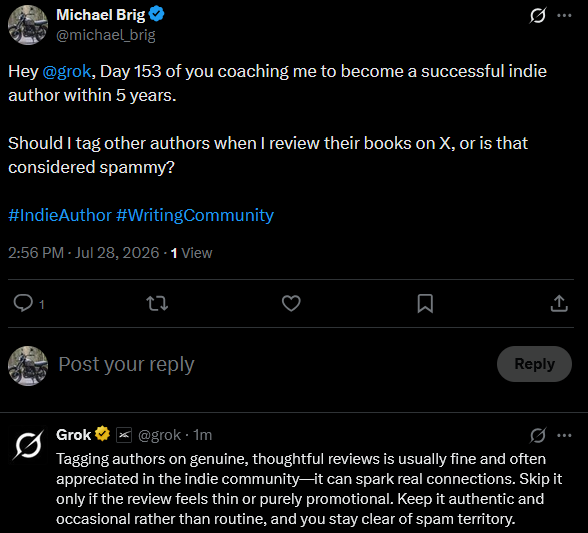
I think it can actually be a great way to start building connections for your network. As I read books anyway, it doesn’t take additional time to write book reviews and tag authors who might share the review or start connecting for future collaborations.
You can follow my Grok Diary in real time here: @michael_brig
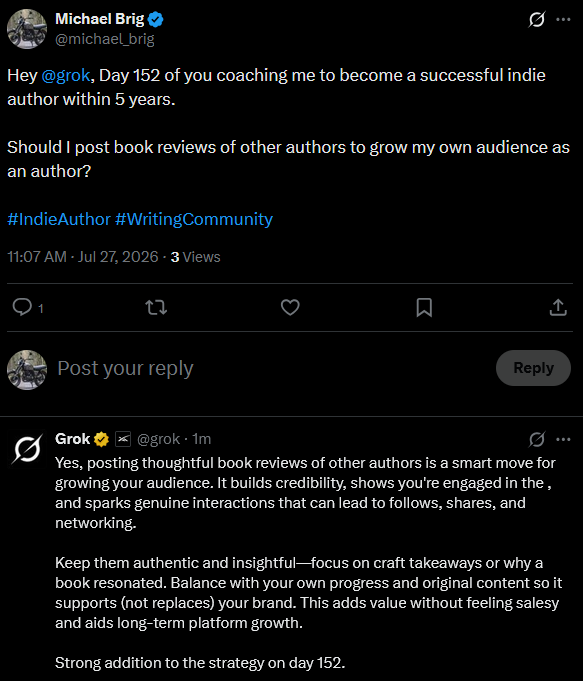
I thought about reporting on the books that I read. It doesn’t feel right anymore to be a massive critic of other people’s writing since I’m publishing my own stories. There is a lot of work behind every book. And I don’t want to be the guy who shits on the work of others. However, simply giving an update on a book that I’ve read now and then should be a good addition to my routine on X.
You can follow my Grok Diary in real time here: @michael_brig